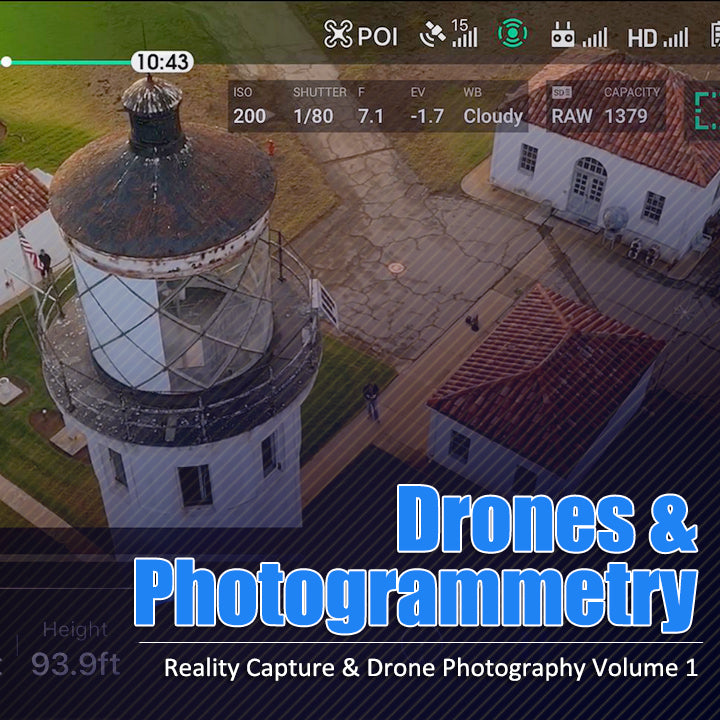
Drones & Photogrammetry: Reality Capture Volume One
Chapter 1) Intro and disclaimer
Chapter 2) Inflight drone image capture walk through
Chapter 3) Image prep in Adobe Lightroom
Chapter 4) Reality Capture & control point workflow
Chapter 5) Mesh reconstruction & cleanup
Chapter 6) Generating UV's & textures
Chapter 7) Zbrush retopology with Zremesher
Chapter 8) Zbrush retopology with Dynamesh
Chapter 9) Zbrush Uvmaster using Polygroups
Chapter 10) Finalizing UV's with Headus and Maya
Chapter 11) Generating displacement maps in Zbrush
Chapter 12) Final remodeling and touchups in Maya
Chapter 13) Final texture touchups in Mari
Chapter 14) Final render in Arnold for Maya
Hello, this is Timothy Hanson from Maxdepth.tv, and today we are going to be focusing on using drones as a tool to create some fantastic 3d assets. In this training series, we will focus on using the DJI Mavic 2 pro as well as traditional DSLRs to capture a data set for use in photogrammetry software Reality Capture.
From there I will show you how to implement what I like to call "The control point method" to align your data set into a beautiful point cloud as well as some tips and tricks to help optimize your scenes. From there we will head on over into Zbrush for some retopology techniques using Zremesher and Dynamesh, as well as a system for harnessing the power of polygroups to organize our UV's.
Next we will jump into Maya for a demonstration on remodeling some problem areas of our mesh. The next step is to work on some final UV tweaking and layout before taking our textures into Mari for some finishing touches.
Closing things out we'll have a walk through in Maya taking everything we've created and using it to build a photorealistic shader network in Arnold that looks so realistic you'd have never guessed it started with a drone. Head on over to maxdepth.tv to pick up your copy of "Drones & Photogrammetry" today. Thanks!
You can view the trailer at https://vimeo.com/379730542


